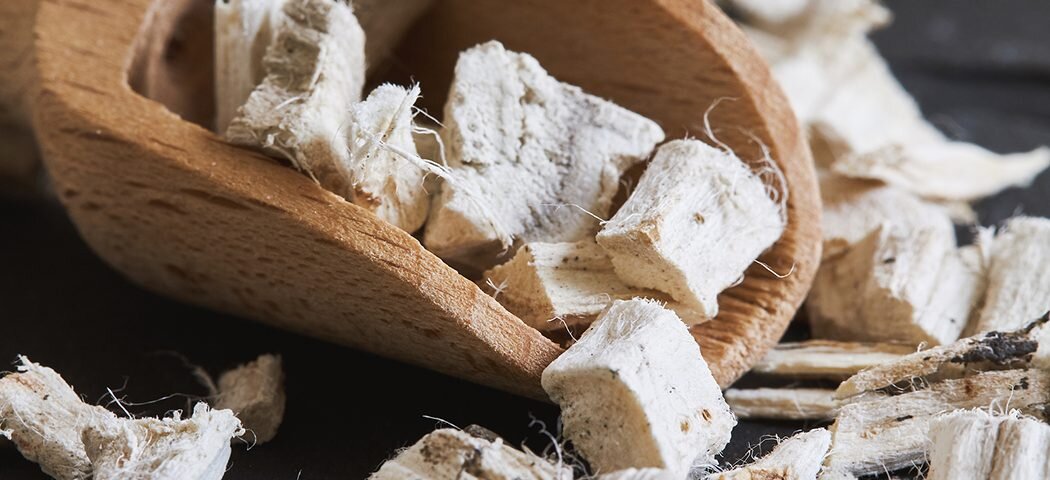
Make your own marshmallows!
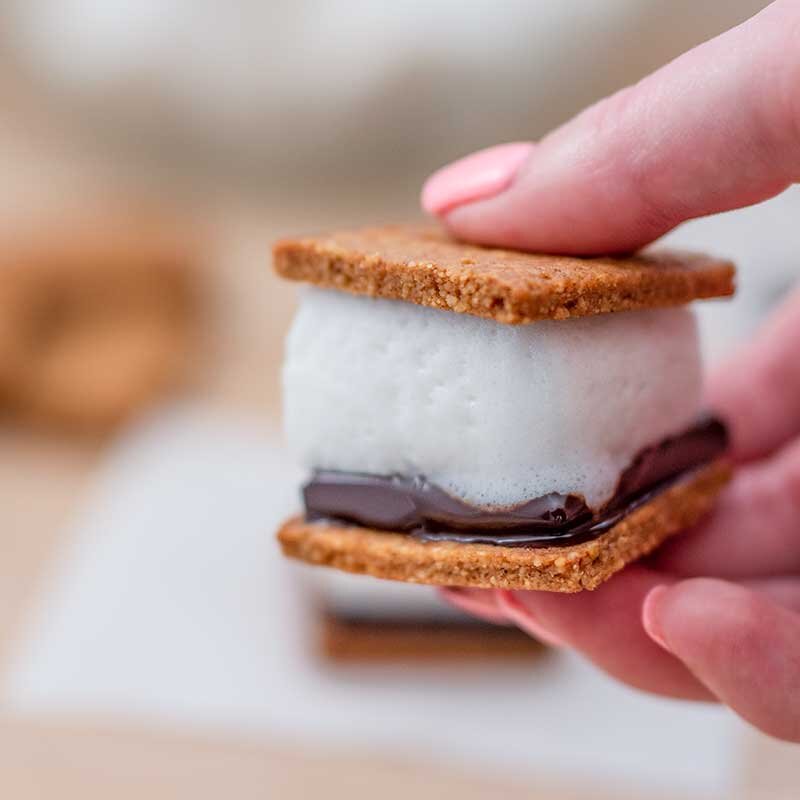
Smore’s may be an American creation, but the marshmallow itself dates back to ancient Egypt, when sap from the mallow plant was sweetened with honey, formed into soft balls, and given to children to suck on for sore throats. Once a remedy, now a super sticky, sugar overdose.
But today we have all kinds of plant allies creating paleo-friendly, gluten-free, dairy-free, grain free, nut free recipes to learn from!
made with mallow!
Home made Marshmallows!
1 cup water
3 tbsp gelatin (grass fed)
1/2 tsp salt
1 cup honey (raw)
½ tsp vanilla bean (fresh, paste or powder, but get the REAL stuff!)
1 tbsp marshmallow root powder (NOT the extract)
1/2 cup arrowroot powder (just to powder the edges and surfaces to reduce stickiness)
Directions
Prep your pan for marshmallows (9”x9” baking dish or similar), add parchment and sprinkle with arrowroot powder
Pour half cup of warm water into a bowl (of the stand mixer if using) and pour the gelatin on top to bloom. It will take about 10 minutes to fully bloom.
Bring the other ½ cup of water to a boil, adding the salt and honey.
Get your candy thermometer ready, and avoid stirring the mixture after the first minute to prevent the mixture from boiling over. You want the temperature to get between 230°-240°F (110-115° C), this will take about 10-14 minutes.
Mix the gelatin with mixer, and slowly (CAREFULLY) add the hot honey mixture.
Slowly increase the speed to high and whip until the mixture has reached “peak”, about 10 minutes.
In the last minute add in the marshmallow root powder, and vanilla bean.
Once the marshmallow mix looks super fluffy, WORK FAST here… quickly pour into your prepared (powdered) dish.
Try not to touch too much once poured because it holds its shape incredibly quickly, and looks much prettier the LESS you mess with it.
Add more arrowroot powder on top, and another sheet of parchment to flip onto a cutting board. . Use a sharp knife to cut the marshmallows into squares.
Enjoy the marshmallows right away, or place them into a glass jar and store them in the fridge for 1-2 weeks.
Homemade Chocolate Bars!
1/2 cup + 1 tbsp cacao or cocoa powder
4 tbsp melted coconut oil
vanilla stevia to taste OR liquid sweetener:
1/4 cup cocoa powder
1/4 cup coconut oil
3 tbsp of your liquid sweetener (honey or syrup)
optional extracts, cocoa nibs, chia seeds
optional 1 extra tbsp oil or water, if it needs to be thinner
Combine coconut oil with the liquid sweetener or stevia drops.
Stir, then add the cacao powder. Stir stir stir! Stir until it gets thick.
Pour into any flat container (or candy molds or smush between layers of wax paper or in ziploc bags).
Freeze until solid, and store in the freezer.
NOTE: Once hardened, you can also melt the bars again for chocolate sauce. Or chop them up for healthy 100% sugar-free chocolate chips!
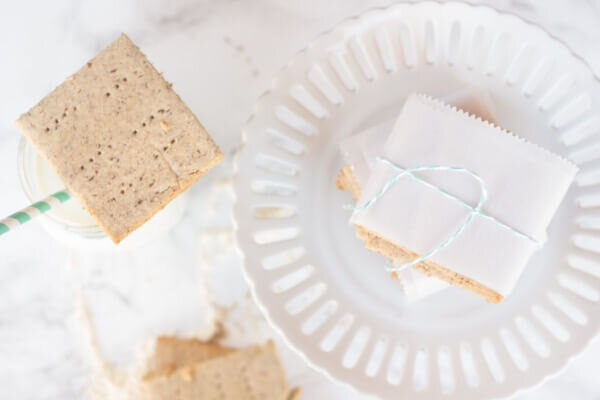
Keto Graham Crackers:
1/4 cup butter
1 egg
3 Tablespoon *Truvia OR 6 T. granulated sugar
1/2 teaspoon vanilla
1/2 cup coconut flour
1/8 cup flax meal
3/4 teaspoon baking powder
1 teaspoon cinnamon
1/9 teaspoon salt
Instructions
Cream butter, egg, sugar, and vanilla together.
Mix dry ingredients together in a bowl and then add to wet ingredients.
Refrigerate for approximately 30 minutes.
Pre-heat oven to 350.
Roll dough between 2 pieces of parchment paper until it's about 1/8-1/4 inch thick.
Place the dough, including parchment paper on a cookie sheet. Remove the top piece of parchment paper.
Use a sharp knife or pizza cutter to slice into 12 - 3x2 inch crackers. Prick small holes in the crackers (optional, this is just so they look more like graham crackers).
Bake 8-10 minutes or until golden brown.
Keto Graham Crackers, darker version
Ingredients
keto graham crackers with molasses
1/4 pound butter, softened (or 1/2 c coconut oil)
1 whole egg
1/4 cup raw honey or coconut sugar
2 tsp blackstrap molasses
1 tsp vanilla
3/4 – 1 cup coconut flour
1/4 cup arrowroot powder
1 1/2 tsp aluminum-free baking powder
2 tsp cinnamon
1/4 tsp sea salt
Directions
In a bowl, combine the dry ingredients using only 3/4 cup of the coconut flour.
In a food processor, blend together the softened butter, honey, vanilla and molasses. Add the egg and beat until incorporated into a soft batter.
Add in half of the dry ingredients to the wet ingredients. Then slowly add in the other half. If the dough is still wet and batter-like, then add more coconut flour, a tablespoon at a time. The dough should come together into a ball. When it does, you are done and can stop adding coconut flour. I used 3/4 cup and then added 2 more tablespoons.
Remove your ball of dough and cut it in half. Place each on a piece of wax paper (I like these wax paper sheets and you will see why in a minute). The dough can now be refrigerated overnight if you plan on making the crackers another time.
When you are ready to use the dough, remove from the fridge and bring to room temperature.
Place a silpat on your counter and place one of the dough discs on top. With the wax paper sheet on top of the ball, roll out with a rolling pin until the dough is 1/4 inch thick. This method will allow you to simply place the silpat on your baking sheet to bake.
Use a pizza cutter to draw lines on the dough about 2 inches apart. Use a fork to prick small holes in the dough. This will give it the authentic graham cracker look and feel and also help you separate the crackers when they are done baking.
Bake at 350 degrees F for 9 – 11 minutes. The crackers will still be soft when you remove then from the oven but brown at the edges. When they cool they will harden and be firm and crisp.
Once cooled, break apart and store in an airtight container for about a week.
Some other alternatives:
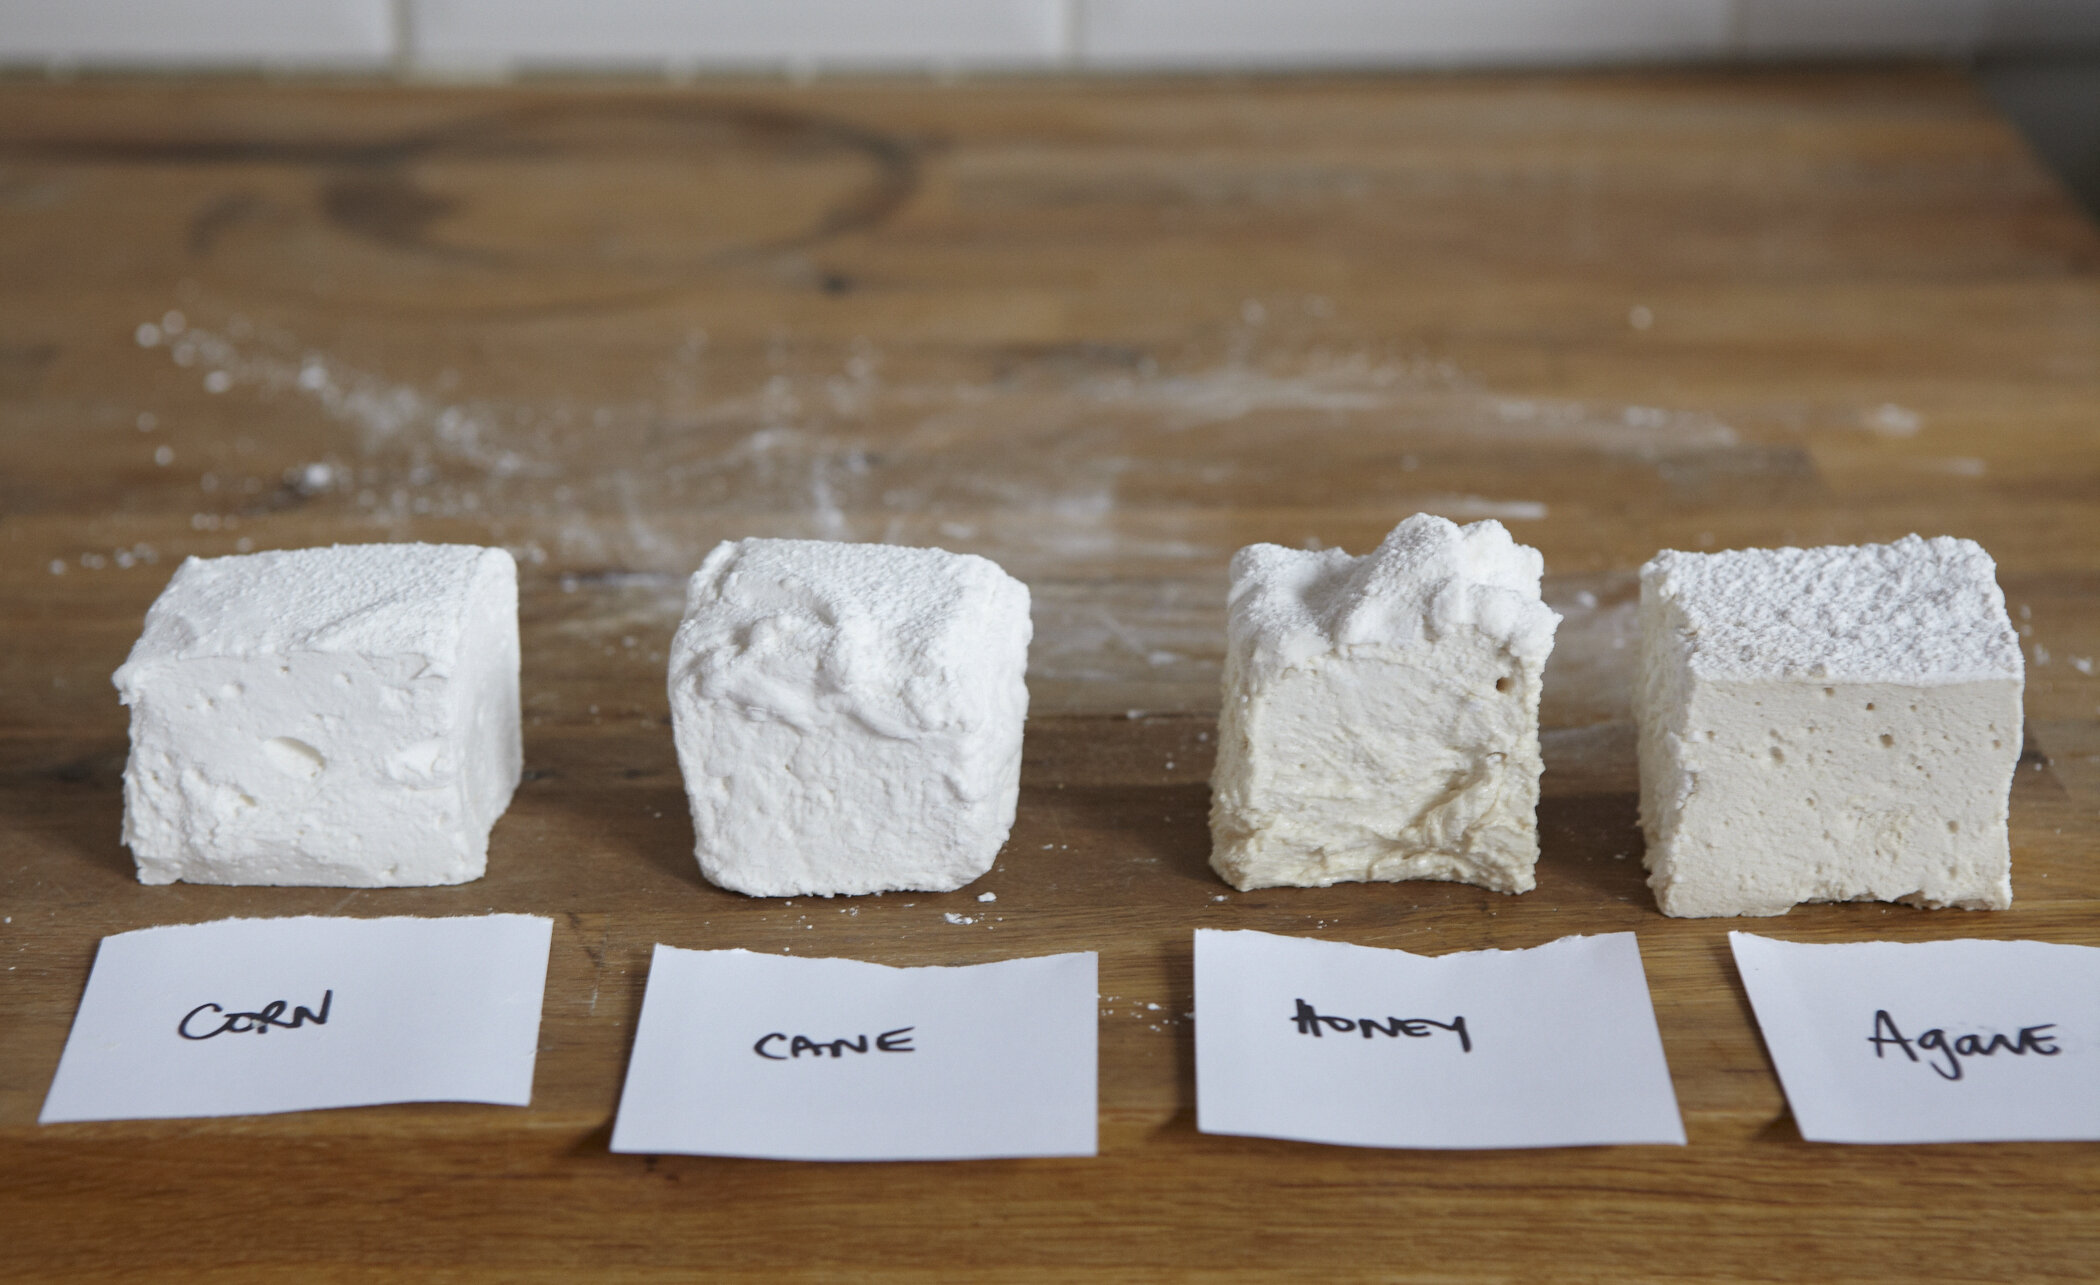
Huff post recipe, cooking marshmallows with different kinds of sugar
Real Food Dark Chocolate Marshmallows!
1 cup filtered water
1 cup local honey
3 tablespoons grass-fed gelatin
3/4 cup organic cocoa powder
1 tablespoon chocolate extract optional
1/2 teaspoon vanilla extract
1/4 teaspoon real salt
2 tablespoons arrowroot powder optional
Instructions
In large bowl (a stand mixer works best) sprinkle gelatin over 1/2 cup of the water. Let bloom.
In medium-sized saucepan, combine remaining water with honey. Heat over medium until boiling. Boil honey, stirring regularly, until it reaches 240°, or soft ball stage. It takes about 10 minutes.
Let honey mixture cool for a minute, then sift in 1/2 cup of cocoa powder, extracts, and salt. Mix until cocoa powder is melted in.
With mixer on low, slowly drizzle in honey/cocoa mixture. Once the honey is added, turn mixer as high as you can (I used speed 8 on my KitchenAid) and beat until color becomes pale and glossy and the marshmallow fluff can stand up in peaks. This should take about 15 minutes.
While the marshmallow is fluffing, grease a 9x9 inch baking dish and line it with parchment paper. Then combine the remaining cocoa with the arrowroot (or just use the remaining cocoa) and dust the parchment with a few teaspoons.
When the fluff is done, pour into the prepared pan, spreading as even as possible with a wet spatula.
Let set on the counter for about 8 hours (I usually do overnight).
Dust the top of the marshmallows with the leftover cocoa powder, and remove from the pan by pulling up on the parchment. Using a sharp knife, slice the marshmallows into squares. Alternately, you can use cookie cutters, if you want. Dust the knife with the cocoa in between slices, so the knife doesn't get too sticky and tear the marshmallows.
Store in the fridge in a covered container.
Chocolate Variation:
3 oz Cocoa butter or 2 tbsp coconut oil, but will be more melt-y
2 1/2 oz Unsweetened baking chocolate
6 tbsp Powdered erythritol
2 tbsp Inulin
1/4 tsp Liquid sunflower lecithin
1/8 tsp Sea salt
1 tsp Vanilla extract
Melt cocoa butter and baking chocolate in a double boiler over low heat.
Stir in the powdered erythritol, a little at a time. Stir in the inulin, a little at a time. Stir in the sunflower lecithin and salt. Heat until everything is smooth and dissolved.
Remove from heat. Stir in vanilla extract.
Pour the melted chocolate mixture into molds. Refrigerate 30 min
Simple Marshmallows with:
1 cup Water
¼ cup Natvia
3 Tbs Gelatin Powder
1 tsp Vanilla Essence
Marshmallow topping with:
1/2 cup Mascarpone Cheese
1/2 cup Heavy Whipping Cream
30 drops Liquid Stevia
1/2 tsp vanilla extract
Plus, these are the cutest. chocolate covered, but using almond flour
An amazing blog/podcast bringing herbalism & baking together!
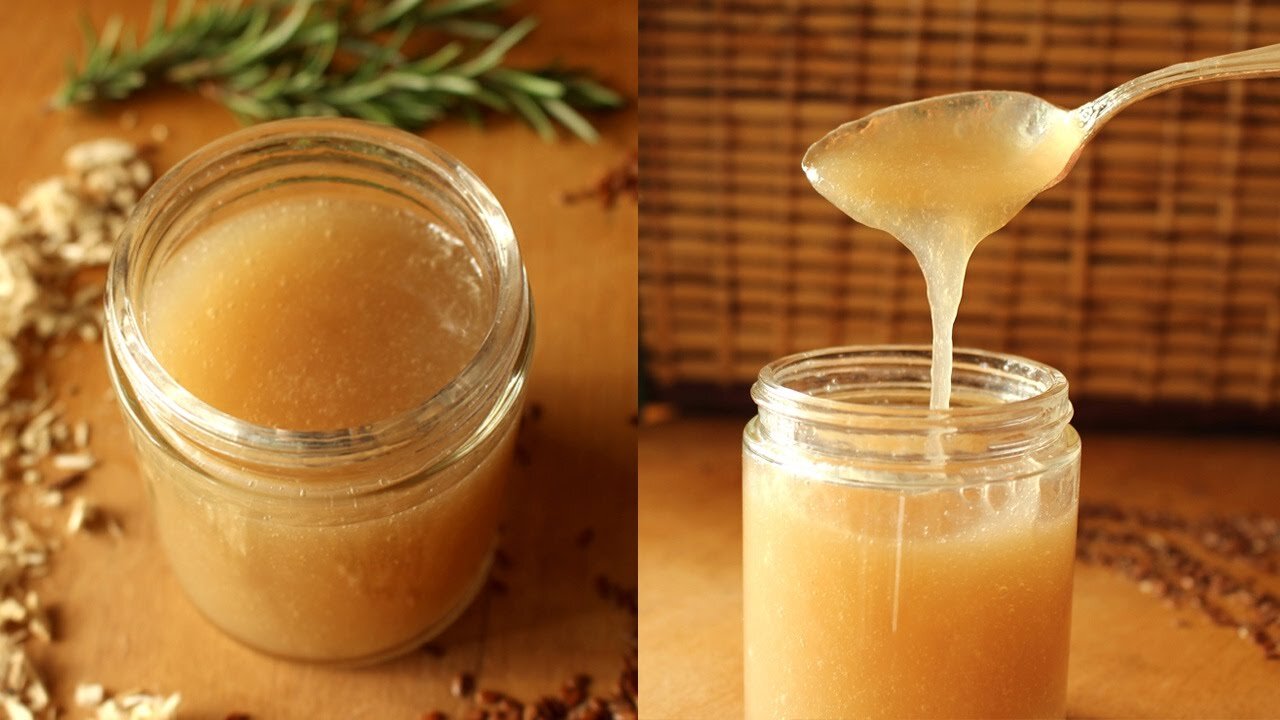
If you’ve ever made a tea with mallow, it actually creates a quite thick mucilaginous liquid, that is super soothing to your thought and internal organs. I found this recipe to make a hair gel with just mallow tea and flax. Kind of cool to see what people make of it.
Sugar free Marsh mallows (alternate recipe)
I like this one because you actually decoct the marshmallow root first, helping the benefits bloom!
Decoct marshmallow root powder
Add marshmallow root to 1-1/4 cup water in saucepan. Bring to a boil and simmer for five minutes. Remove from heat and refrigerate until cool.
Drain marshmallow root decoction to eliminate clumps.
Measure 1/2 cup of the marshmallow root decoction and add gelatin. Set aside.
Measure 1/2 cup marshmallow root decoction in a sauce pan on stove with honey, vanilla extract, and pinch of salt.
Bring to a boil on hot heat. Insert candy thermometer into pot without letting it touch the bottom of the pot. Boil another 5-8 minutes until it reaches 240 degrees. Remove from heat.
Turn hand mixer on low and pour the hot marshmallow/honey mixture over the gelatin.
Whip for another 5-8 minutes
With a knife dipped in hot water, slice the marshmallows (the sides will be sticky for a little bit).
Coating (Optional)
1/3 cup finely shredded Coconut
1/2 teaspoon marshmallow root powder
1. Toast over medium heat until coconut is slightly brown and fragrant.


